
From Tired to Inspired: THE 5 Minute, Quick Makeup Routine for New Moms

Hey there, mom!
I know you're probably running on little sleep and even less time, but let me tell you something - taking a few minutes for yourself can make all the difference in the world. As a mom of two little ones myself, I totally get it. Some days, it feels like a victory just to brush your teeth, right? But trust me when I say that a quick makeup routine can be a game-changer for your mood and confidence.
Before we dive in, let's chat about why this matters. You know those days when you feel like you're drowning in dirty diapers and spit-up? Yeah, we've all been there. Taking just a few minutes to put yourself together can be like hitting a reset button on your day. It's not about looking perfect for anyone else - it's about doing something for you. Plus, it can be a small but mighty weapon against those postpartum blues. So, let's walk through this together, step by step, just like we're back in the college dorms getting ready together to hit the bars.
Ready?
THE Routine

Step 1. Protect: Alastin HydraTint Pro Mineral Broad Spectrum Sunscreen SPF 36
Alright, let's start with a clean face. I know, I know - when was the last time you washed your face, right? No judgment here! But if you can, splash some water on your face or use a quick cleansing wipe. Now, grab that Alastin HydraTint. This stuff is like magic in a bottle, I swear.
First off, it's got SPF 36. Remember when we used to lay out in the sun for hours? Yeah, those days are long gone. Now we're all about that sun protection, especially with our mom-skin that seems to show every little spot and wrinkle. But here's the best part - it's not just sunscreen. It gives you this gorgeous, subtle tint that evens out your skin tone. It's like an Instagram filter in real life!
Just squeeze out a small amount - about the size of a nickel - and dot it all over your face. Then, use your fingers to blend it in. (Pro tip! Don’t neglect your hairline, blend this magic up into your hairline to prevent unexpected sunburns) Don't worry about being too precise; this stuff is pretty forgiving. It'll give you this healthy, I-actually-slept-last-night glow. And bonus: it's so lightweight, you'll forget you're wearing anything at all.
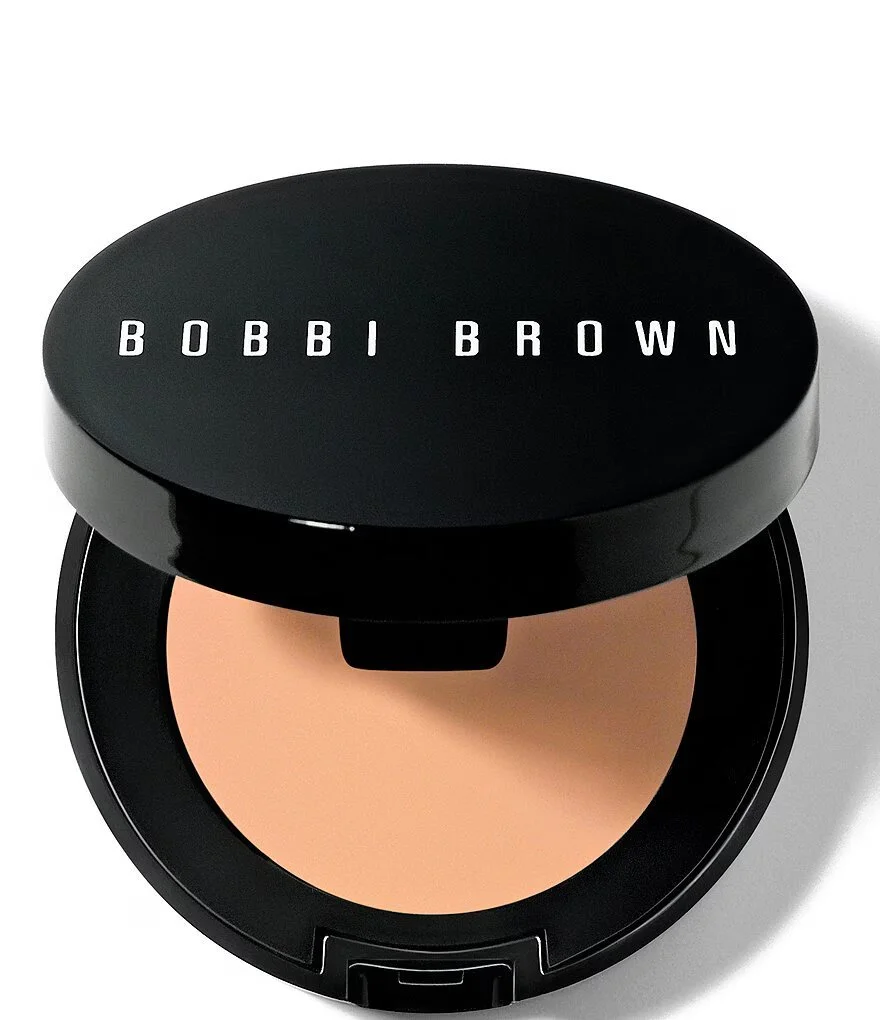
Step 2. Correct: Bobbi Brown Color Corrector in Light Bisque
Okay, now let's tackle those under-eye circles. Because let's face it, "sleeping like a baby" is the biggest lie ever told to new moms. This Bobbi Brown Color Corrector is a lifesaver. It's in the shade Light Bisque, which is perfect for neutralizing those bluish-purple tones under your eyes.
Here's a pro tip: less is more with this stuff. You only need a tiny amount - like, half a grain of rice tiny. Use your ring finger (it's the gentlest) to pat it under the inner corners of your eyes where those dark circles love to hang out. Don't rub, just pat gently. We're not trying to pull on that delicate skin - goodness knows we've got enough wrinkles coming our way!
This corrector is amazing because it doesn't settle into fine lines or look cakey. It just softly blurs away those shadows, making you look like you actually got a full night's sleep. Imagine that!

Step 3. Conceal: Nars Soft Matte Complete Concealer
Now that we've color corrected, let's brighten things up even more with this Nars concealer. This stuff is the real deal - it's like an espresso shot for your face.
Take a small amount on your ring finger (yep, we're using that gentle finger again) and pat it at the inner and outer corners of your eyes. Then, use a tapping motion to blend it outwards. Don't go too far - we're just focusing on the areas that need a little extra love.
What I love about this concealer is that it's buildable. So if you're having one of those days where you look in the mirror and think, "Who is that zombie?", you can add a little more. But usually, one layer does the trick - especially when layered over the Bobbi Brown Eye Corrector above. It gives great coverage without looking heavy or obvious. You'll look bright-eyed and bushy-tailed, even if you feel anything but!
Step 4. Set: Laura Mercier Translucent Loose Setting Powder Ultra-Blur
Alright, time to lock all that goodness in place. This Laura Mercier powder is like a magic eraser for your face. It blurs everything out, making your skin look smooth and flawless. Plus, it keeps your concealer from creasing or sliding off your face by lunchtime.
Now, I know what you're thinking - "Powder? Won't that make me look cakey and old?" Nope! This stuff is so finely milled, it's practically invisible. The key is to use it sparingly.
Take your triangular powder puff (my go-to is this Sonia Kashuk two pack) and pick up a small amount of powder. Tap off the excess - seriously, tap it like it owes you money. Then, gently press the puff under your eyes. Don't swipe or rub, just press. This sets your concealer without disturbing it.
If you're feeling a bit oily in other areas (hello, postpartum hormones!), don’t worry, we’ll take care of that a little later.
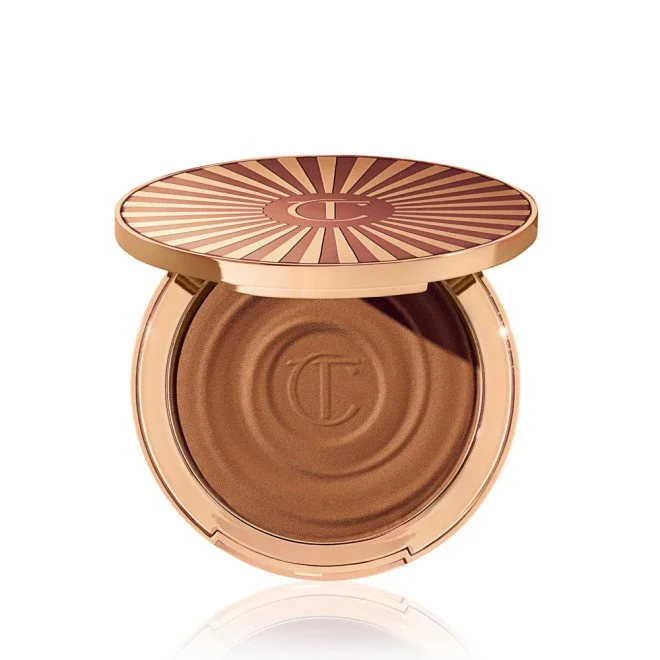
Step 5. Frame: Charlotte Tilbury Beautiful Skin Sun-Kissed Glow Bronzer
Let’s warm up your complexion with the Charlotte Tilbury Beautiful Skin Sun-Kissed Glow Bronzer. This cream bronzer is infused with hyaluronic acid and vitamin D3, providing a radiant, sunkissed glow while keeping your skin hydrated.
To apply, use your finger to dab a small amount onto your hairline, cheekbones, and jawline—where the sun would naturally hit. Don’t forget to add a touch down the sides of your nose for subtle definition using a small, angled contour brush.
The creamy texture makes blending a breeze. Use a flat contour brush or your fingers to buff out any harsh lines for a seamless finish. This bronzer not only enhances your complexion but also nourishes your skin, making it perfect for busy days when you want to look effortlessly fresh and vibrant. You'll look like you just enjoyed a relaxing day in the sun (safely, of course, with SPF!).
Step 6. Eyeshadow Base: MAC Pro Longwear Paint Pot in Painterly
Okay, let's give those tired eyes some love. This MAC Paint Pot is a game-changer. It's like a primer and eyeshadow in one, and it stays put all day. No creasing, no fading, just pretty, even color.
Use your finger to apply a small amount all over your eyelids, from lash line to brow bone. It evens out any discoloration on your lids (goodbye, visible veins!) and gives you a nice, neutral base.
Now, here's a little trick: remember that small bronzer brush from earlier? Take that same brush (without adding any more product) and sweep it gently along your eye crease. This adds a bit of definition to your eyes without having to fuss with eyeshadow. It's like contouring for your eyes, but way easier.
This step takes like 30 seconds max, but it makes such a difference in making your eyes look more awake and put-together.
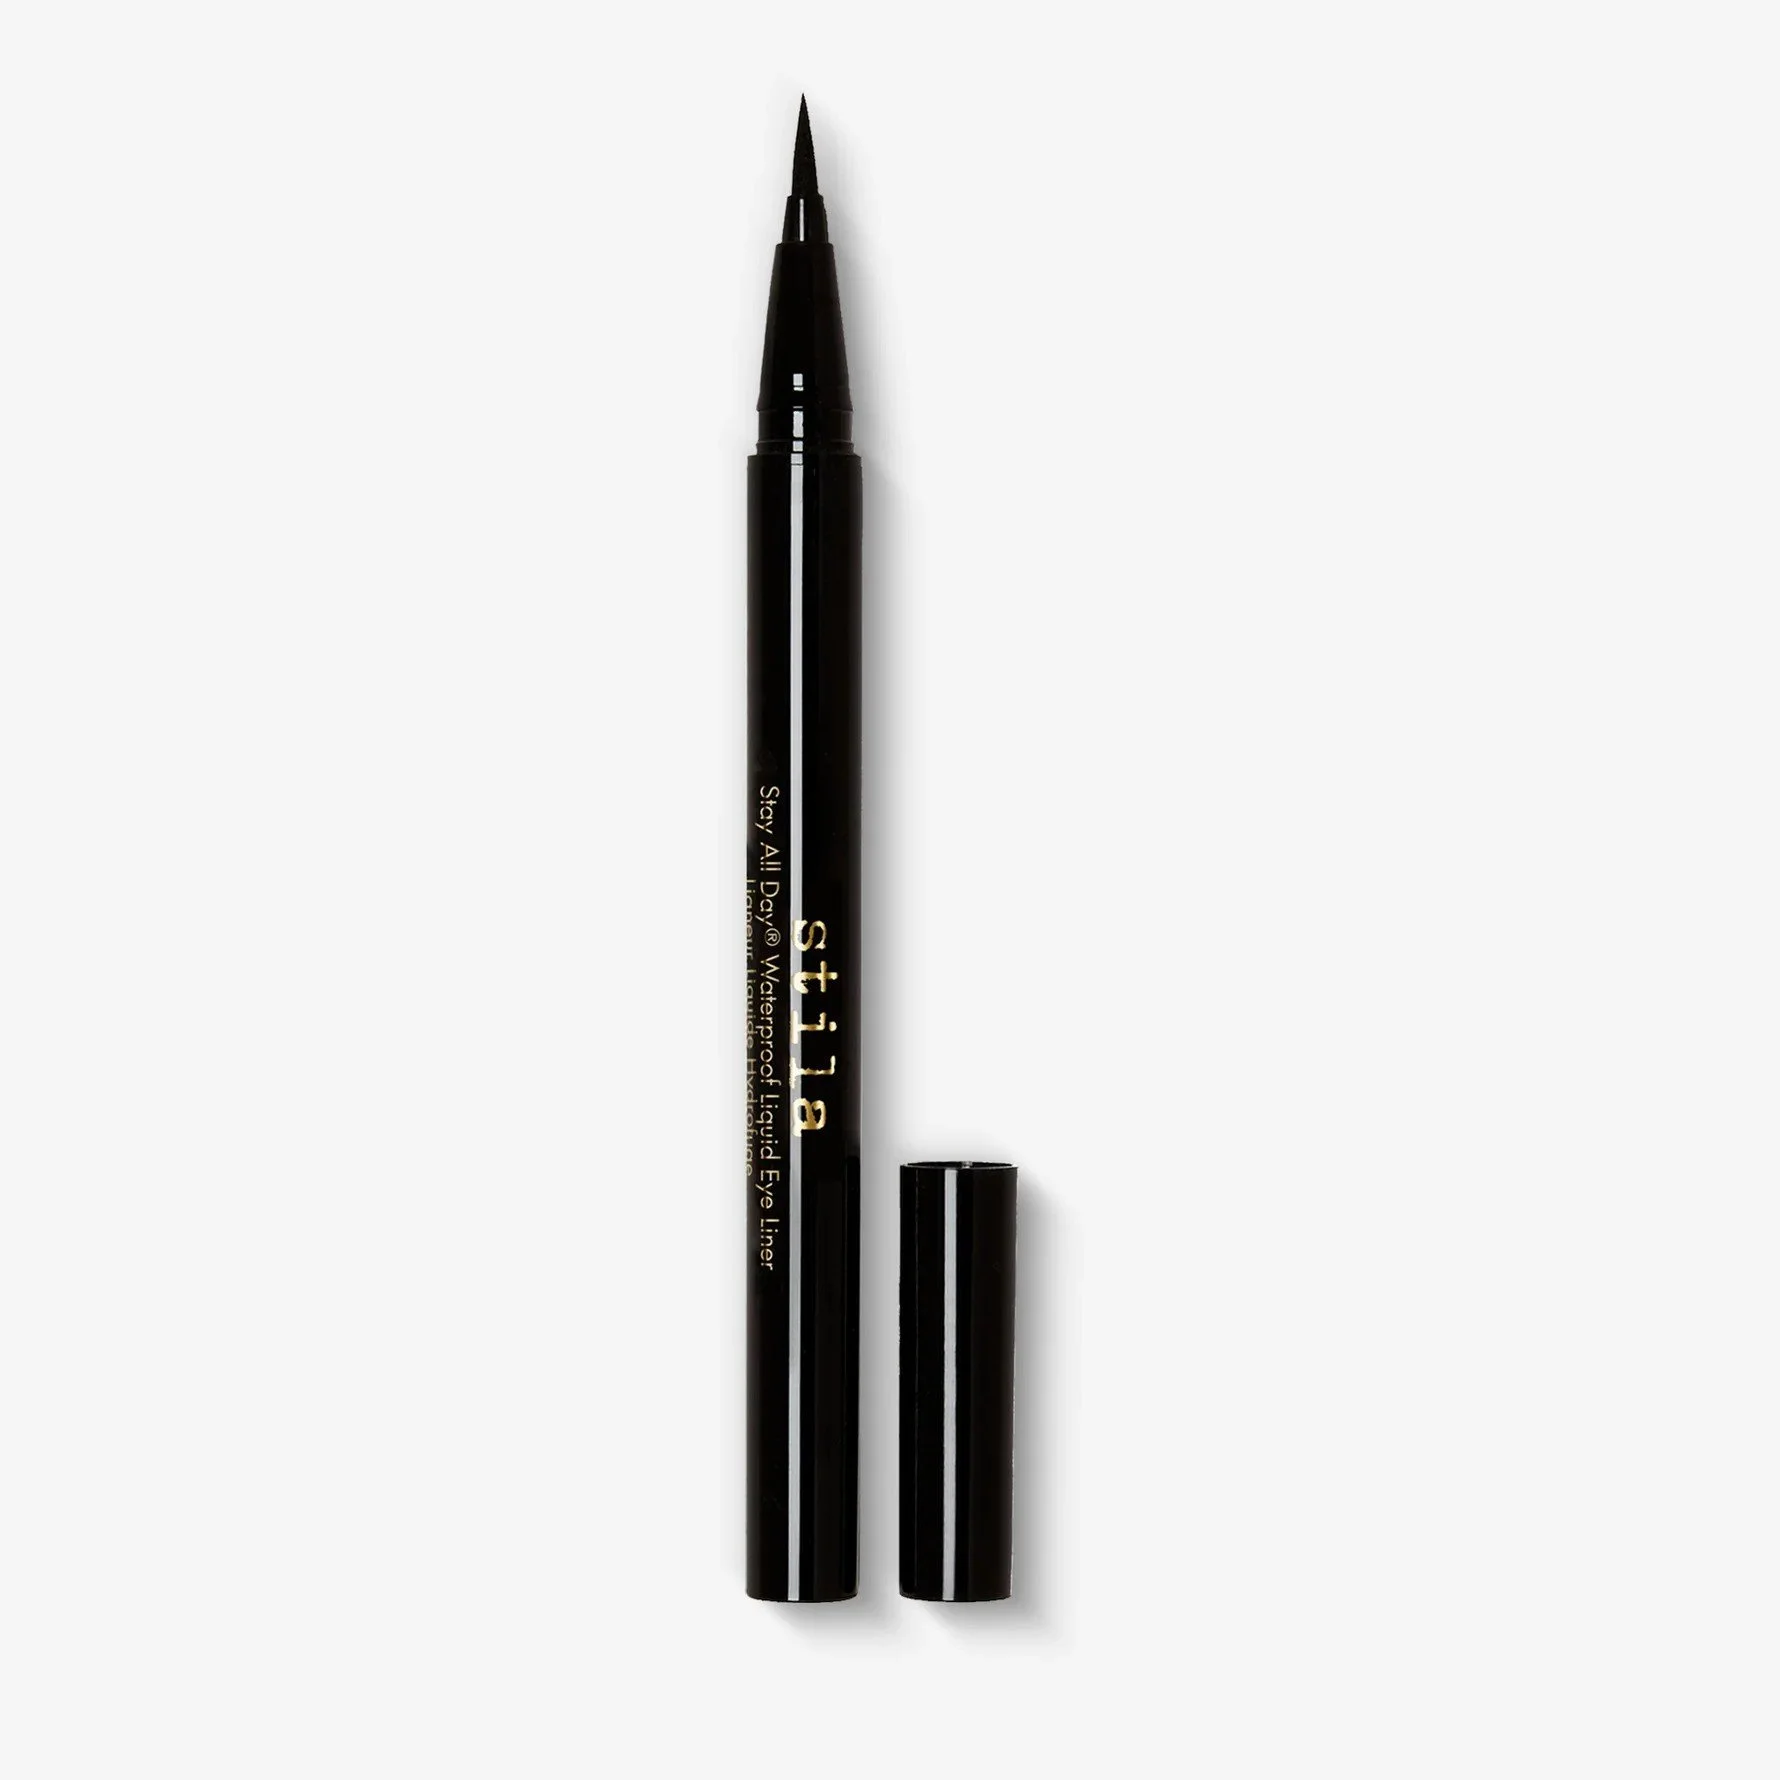
Step 7. Line: Stila Stay All Day Waterproof Liquid Eyeliner
I know what you're thinking - "Eyeliner? Are you crazy? I can barely keep my eyes open!" But trust me on this one. A little bit of eyeliner can make your eyes pop and distract from any tiredness.
This Stila eyeliner is a holy grail product for a reason. It's super easy to use, even if you're not an eyeliner pro. The tip is really fine, so you can get right up against your lashes. And it's waterproof, which is crucial for us moms. Whether it's happy tears, frustrated tears, or just watery eyes from exhaustion, this liner isn't going anywhere.
Start at the inner corner of your eye and draw a thin line along your lash line, staying as close to your lash line as possible. Don't worry about making it perfect - we're going for "I tried" not "I'm a professional makeup artist."
If you're really short on time or feeling shaky, you can even just do the outer half of your eye. It'll still define your eyes and make your lashes look fuller.

Step 8. Awaken: Thrive Causemetics Liquid Lash Extensions Mascara
Now for the real eye-opener - mascara! This Thrive Causemetics mascara is like falsies in a tube. It lengthens and volumizes your lashes like nobody's business.
Start by curling your lashes if you have time (and if you can find your lash curler under the mountain of baby gear). If not, no worries - this mascara does a pretty good job of lifting your lashes on its own.
Wiggle the wand at the base of your lashes, then sweep upward. One coat is usually enough, but if you're feeling fancy (or have an extra 30 seconds), go for two. Focus on the outer lashes to really open up your eyes.
Don't bother with lower lashes unless you want to. Sometimes leaving them bare can actually make your eyes look bigger and more awake.

Step 9. Color: Patrick Ta Major Headlines Double Take Creme & Powder Blush Duo
Time to add a pop of color to those cheeks! The great thing about blush is that it instantly makes you look more awake and healthy. Even if you skip everything else, a touch of blush can make a world of difference. Start with the cream side of the Patrick Ta Major Headlines Double Take Creme & Powder Blush Duo. Use your fingers to tap a small amount onto the apples of your cheeks. Smile big (even if you have to fake it) and apply the blush to the roundest part of your cheeks, then blend up and out towards your temples.
For a truly flawless application, I highly recommend using the Patrick Ta Dual-Ended Sculpting Brush. This brush makes blending a breeze. Use the dense end to gently buff out the cream blush, ensuring a smooth, seamless finish.
If you want a bit more color or staying power, dust the powder blush over the top. Use the fluffy end of the brush and start with a light hand—you can always add more, but it’s harder to take away. This technique ensures a radiant, long-lasting flush that looks natural and fresh.

Step 10. Highlight: Fenty Beauty Killawatt Freestyle Highlighter in Lightening Dust
Alright, time for the finishing touch - some glow! This Fenty highlighter is gorgeous. It gives you that lit-from-within look without being too sparkly or obvious.
Take a small brush (or your finger, let's be real) and apply a light dusting to the high points of your face. That's the top of your cheekbones, down the bridge of your nose, and a touch on your cupid's bow (that little dip above your top lip).
If you're feeling extra, you can add a tiny bit to the inner corners of your eyes too. It'll make you look more awake and bright-eyed.
The key with highlighter is to go easy. We want to look glowy, not like we fell face-first into a glitter pot.

Step 11. Final Set: Laura Mercier Translucent Loose Setting Powder Ultra-Blur
Last step, I promise! Let's make sure all your hard work lasts through spit-up, snack time, and whatever else the day throws at you.
Take a big, fluffy brush and pick up a small amount of the Laura Mercier powder. Tap off the excess (you know the drill by now), then lightly dust it all over your face. Focus on areas that tend to get oily, like your T-zone.
This step is optional, especially if you have dry skin. But if you find your makeup sliding off by lunchtime, this can really help everything stay put.

Polished Perfection
And there you have it, mom!
A full face of makeup in the time it takes your little one to demolish a snack. Remember, this routine is totally customizable. Some days you might do the whole shebang, other days you might just swipe on some mascara and call it good. The important thing is that you're taking a moment for yourself.
This routine isn't about looking perfect or hiding who you are. It's about giving yourself a little boost, a moment of self-care in the chaos of motherhood. Whether you're heading to the grocery store, to a playdate, or just hanging out at home, knowing you look put-together can make you feel more confident and ready to tackle whatever the day brings.
Remember, you're doing an amazing job. Motherhood is tough, but so are you. Now go out there and rock this day - you've got this!